Monday, February 7, 2011

Wrap up on Lebrechaun


Well, this is the last of this little guy. He gets a bit of gold jewelry; a bracelet, some ornaments on the shoes, and a ring.
He also got a carved pipe.


The finished sculpt. He is 8 inches tall. Mounted on a wooden base with clay applied to the top and sculpted to look like brick. A four-leafed clover is slipped into the side of his hat.


I had a few followers ask about more details on the skull and teeth so next time we will take a closer look at those items in a new set of pictures. Have a great day!

Saturday, February 5, 2011

FINISHED!

Hi there, just finished the female torso DVD. Over two hours of real time sculpting of a 12" female torso from design through armature, rough in and detailing.

Should have this on the website this weekend. www.mad-sculptor.com

Thursday, February 3, 2011

Leprechaun (Finishing the leather work)

 The hat starts with two layers of a thicker grade of leather than the shoes and pants so it can hold it's shape better. The shape is cut and a hole is cut to fit the man's head. (These are mirror images which are glued suede sides together with Fabri-tac.)


The leather is curled on the front edge as they are glued together to hold the shape.


 The cap part of the hat uses the hole from the brim and a strip of leather which is super glued together and attached to the brim.
 The hat is shaped to the head and then sealed with Minwax Polyurethane Satin Finish which is a water based clear sealer. It gives an oiled leather look without being too shiny and helps hold the shape of the hat as it soaks in and stiffens the leather slightly.
* This leather is from an old coat which was dyed green in its past life. Parts of it have bleached out in the sun so when it is sealed the natural brown shows through the green- in case you are wondering why this is now a brown hat.
 I use a coarse sanding pad to rough up the leather where there would be natural wear.
 THE CAPE
The cape is made of a single layer of the same leather. I distress the edge by grabbing it with pliers and ripping the bottom.
Some wear spots are added by scraping with the sharp edge of a knife.
 The cape is attached.
 The cape will "float' of his back by simply gluing it on his shoulders.

 His pants and shoes have been "wet down" with the sealer as well just to add a little shine to catch the light and liven-up the piece a bit.
The shoes are brushed with some Raw Umber to dirty them and to fill the stitching with paint to look like thread. (Right sole not all the way done yet)


The soles, sides, heels, and toes of the shoes are then sanded to look like they are worn.
 The finished leather work. the cape has been sealed to make the wear spots show better.
 The knees and seat of the pants have also been sanded to show wear.
Buckles are put on his shoes after the sealing and sanding are done.
Next time we will finish this guy and take a look at where we are going next. Have a great day!

Wednesday, February 2, 2011

Lebrechaun (Shirt)

 Time to give him a shirt. I decided that I wanted to have some color and pattern. I know its not terribly Irish but I liked the plaid so here we go.
Cut two sleeves longer than the arms and wide enough that there would be some puffiness to the sleeve when done. The edges are hemmed and they are sewn into tubes and turned right side out. Be sure the tube fits over the hand!
The sleeve is slipped onto the arm and glued at the wrist (about 1/2" from the hem so the end of the sleeve is loose) then held in place with a twist tie from a bread bag until the glue sets. You can also do this by basting a seam around the sleeve and pulling it tight to the wrist.
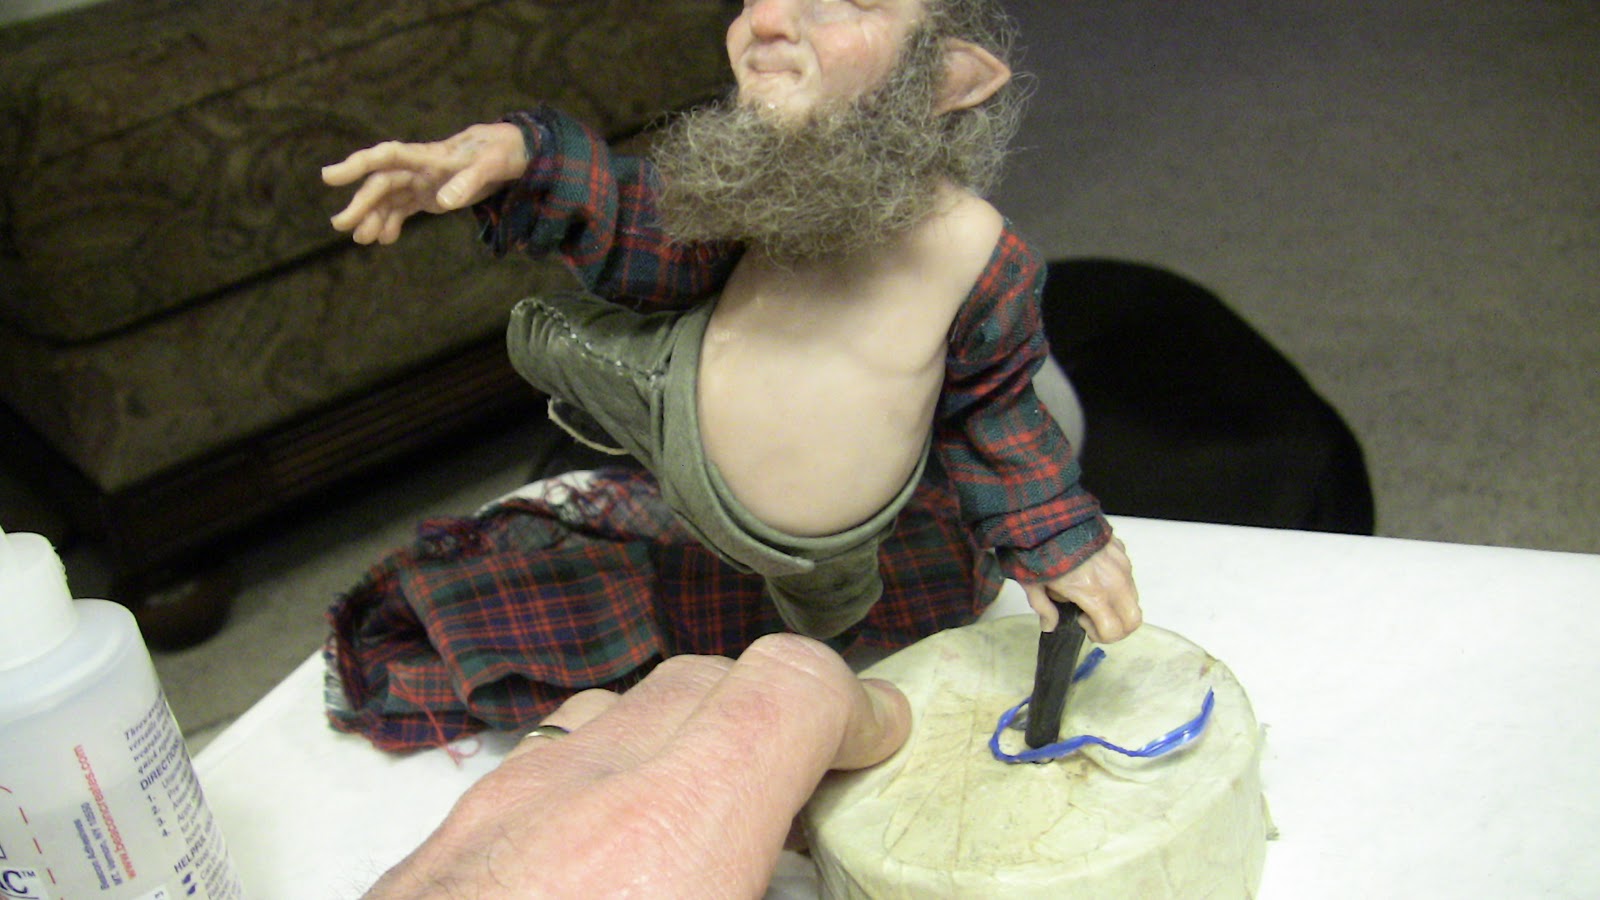
The sleeve is now pulled back down the arm to cover the glued area at the wrist and create a puff of sleeve over the cuff.  A thin layer of glue is applied to the top and side of the arm then the sleeve is pulled back up the arm and pressed into the glue lightly.
 This gives the sleeve a more natural hang from the arm. Real clothing rests on the upper surface of the arm then gravity pulls the cloth down to hang below the arm. By tacking the cloth to the upper part of the arm, the cloth will hang a bit more like it should without using stiffeners.
You will notice the puff around the base of the cuff and wrinkles and folds in the sleeve at the elbow.
The bodice of the shirt is sewn together so it can be slipped over the head and then seam the sides. I add the collar in place after this step.
The bodice is glued in place around the sleeves, neck, etc...
 The sides are stitched together (or glued) and a collar is made and glued in place. The top of the shirt is tacked to his chest and upper back (again, we want it to hang like real clothing) and it is glued and tucked into the waistband of the pants leaving extra to create a puffiness as if the shirt had been pulled out a bit as he moves.
The back.
Next time we will make a cape and hat. Have a great day!

Tuesday, February 1, 2011

Leprechaun (Pants-at long last)


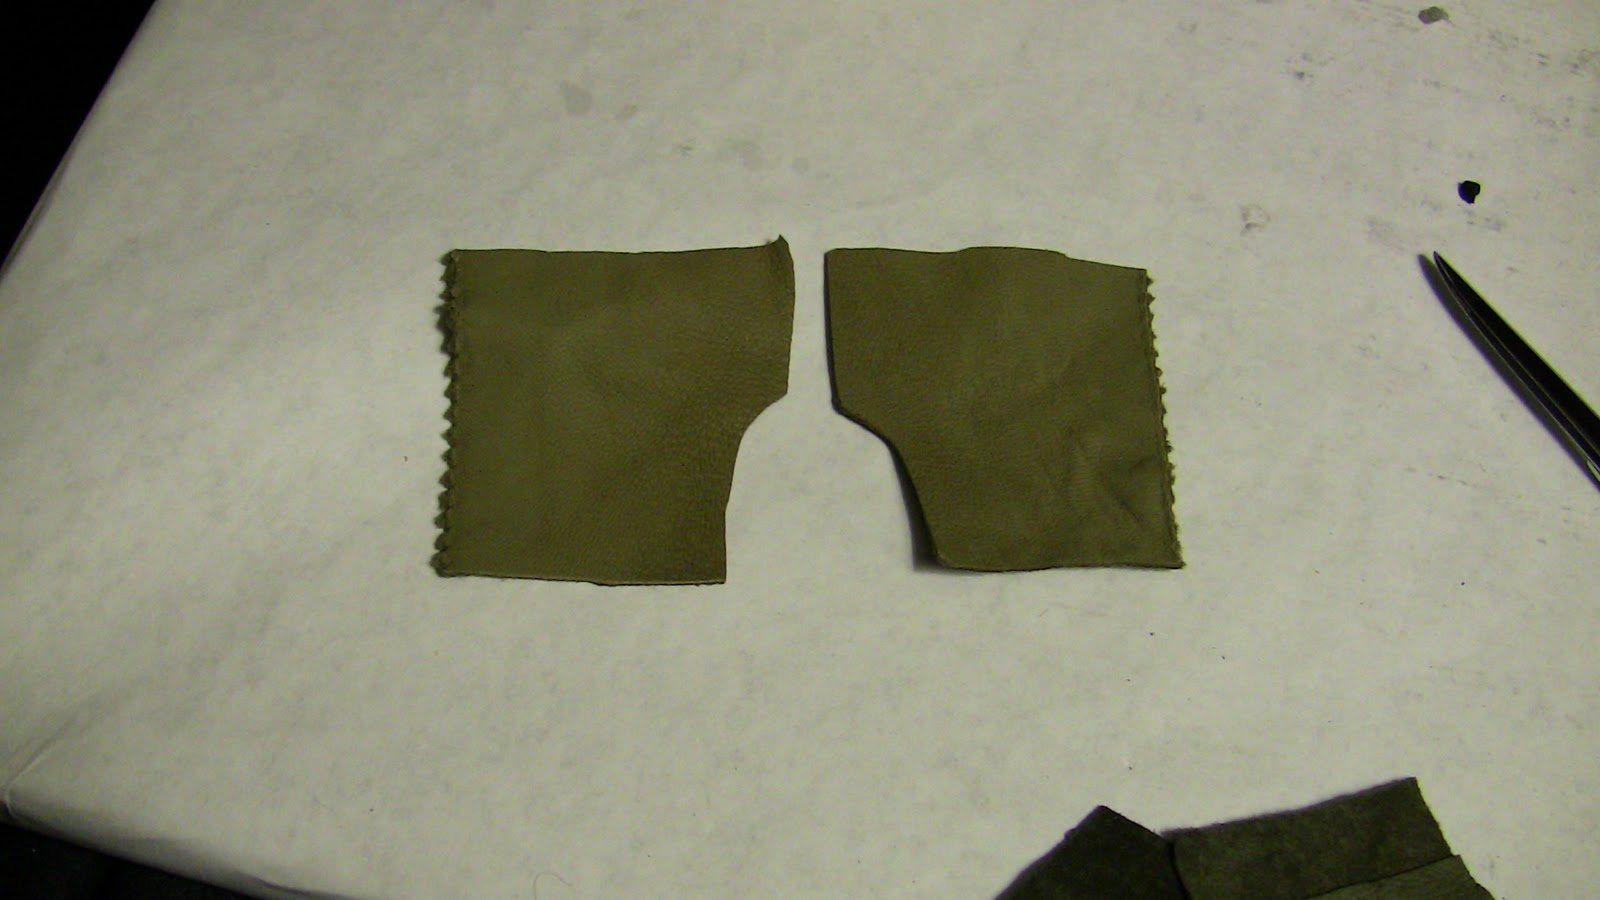
The pants are made of leather from an old coat. Four panels are cut in the same shape (two are mirror images)


The panels are placed with the polished sides together and then sewn together with a leather stitching tool.
 Once the sewing is done, they are turned right side out and worked up the legs being careful not to rip out the stitching.


 The bottoms of the legs at the knee are turned under and a strip of leather is inserted under the turned under edge to give the look of knickers. (Note the difference: right side has no knickers , left side does.


The top edge is done the same way to give a waistband to the pants.
  Waistband in the front.


Once the pants are in place I use a thread burner to burn tiny stitching into the shoes and pants.       

Monday, January 31, 2011

Lebrechaun (socks and shoes) ** Contains incidental artistic nudity!

 Thought that we would start by showing the finished piece so you can see where we are going and how we are getting there.
 The socks are a nice faded cotton print. I cut a piece to fit from the knee to the ankle with enough extra to add wrinkles. I tend to mark all my cutting in place as I go rather than use a pattern.
A thin layer of Fabri-tac is applied to the front and sides of the legs then the cloth is stretched around the leg and wrinkles are worked into it before the glue sets. If you use too much the glue will seep through the cloth and leave a shiny, wet spot in your cloth. Not an issue if you are distressing the clothing later.
 The inside of the back seam is glued flat. I mark the seam on the back side of the outside edge of the sock and extra cloth is trimmed off the outside edge allowing for a 1/8" seam.
 The 1/8" extra is folded under and glued in place. This can be hand sewn but my hands just can't do this minuet work any more. Make sure the stripes line up if you use a pattern in the cloth.
 Finished sock.
 SHOES
His shoes are made of black glove-grade leather which is much thinner than clothing leather or carving leather.
The heel is a simple arc (left one) which has the top edge turned and glued down to make a point which will lay on the tendon of the heel (right one). *The suede side of leather can be held together with Fabric-tac. If you join the finished sides of leather together, you will need another type of glue. I use super glue to attach to the polished side of a hide.

The heel is glued and stretched in place so the excess on the bottom wraps around to the sole of the foot.
 The upper is just a square with a tab. The tab side is again turned under and glued so there is no raw edge.
 This is laid on the top of the foot with the tab running up the ankle. It is glued in place and the leather is stretched around to the bottom of the foot. * Make sure the sock is covered so it looks like it runs all the way into the shoe.
Extra leather is trimmed off the bottom so there are no overlaps on the sole.
A set of strips are cut for buckle straps. the edges are all turned under and glued.
 Soles are made of carving leather which is cut to fit using the the foot as a pattern. In this case they are Elk hide. The heels are built up with layers or leather cut to fit and glued with super glue.
The soles are glued to the shoes. The buckle strap has been glued to the top of the shoe on one end in case I want to slip a metal buckle on before I finish them.
The shoes will be stitched, dirtied, and distressed later in the dressing process.
Thanks for viewing, have a great day!

Sunday, January 30, 2011

Leprechaun (paint and hair)

 Last time we cured this little guy so today we will paint and hair him. The following steps have been done: (just a check list for those sculpting along) Whole body is cured, pose changed, repairs cured.
Superheated the ankles, knees, hips, shoulders, entire arm, hands and fingers, and ears.
Fingernails are applied and cured with the heat gun.

He is now painted with my basic mix of Raw Umber, Raw Sienna, and extender. This is wiped off and while he is still wet a wash of Adobe red and extender is used to "pink" him up a bit. This is wiped of as well and as he dries I dry brush some red into the hi light areas of his hands and face. He is aged a bit by brushing some Wedgwood Blue into the temples, under the eyes, and the furrows in the back of the hands. Some dark purple veins are added in the furrows of the hands just above the knuckles.

He is done painting and ready for hair.


 I decided on am "Amish" look of beard with no mustache. A very coarse goat hair is applied in layers to the chin and around the back and sides of the head. This hair is great because it has brown, red, and gray fibers in it.
His eyebrows also get some hair.
He is ready for some clothing next time. Have a great day!